Using ImageMagick:convert:draw:text
It is a rather messy business to draw text with the ImageMagick program convert, especially if one needs gravity. The below documents the situation in version 6.0.7.% identify | head -1 Version: ImageMagick 6.0.7 11/03/04 Q16 http://www.imagemagick.org
No doubt the current situation is unfortunate and should be improved.
The starting picture
Let us first create the canvas.#!/bin/sh convert -size 300x300 xc:white -stroke black \ -linewidth 3 -fill white -draw "rectangle 15,15 285,285" \ -linewidth 2 -draw "rectangle 120,80 260,160" \ cv.pngThis yields the image
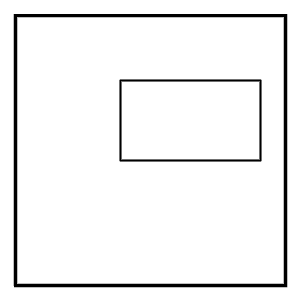
The four corners of the inner rectangle are (120,80), (260,80), (120,160), (260,160) and the center is (190,120).
Center
We want to draw text in the center and the four corners of the inner box. Just using the coordinates of the center:convert cv.png -draw "text 190,120 'abc'" test1.pngyields

with the center of the inner box being the lower left corner of the text. That was not what we wanted. Fortunately there is a -gravity option with possible values Center, North, NorthEast, ...
Try
convert cv.png -gravity Center \
 -draw "text 190,120 'abc'" test2.png
We get no text at all. Strange. Experimenting we find that the effect of -gravity Center is not that the text is centered at the given coordinates, but that the origin of the coordinate grid is moved to the center of the picture. So, we must undo that with a translate (or compute what our point (190,120) becomes relative to the new origin).
convert cv.png -gravity Center \
 -draw "translate -150,-150 text 190,120 'abc'" cv1.png
This yields
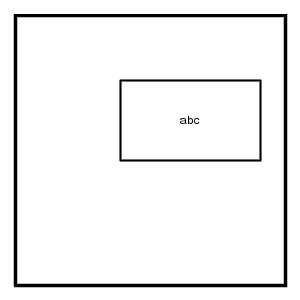
Excellent.
NorthWest
Next, add some text in the NorthWest corner.convert cv1.png -gravity NorthWest \ -draw "text 124,80 'one'" cv2.pngThat was easy. With -gravity NorthWest the coordinate system is not changed, so we gave the coordinates of the corner where the text was to go, namely (120,80). But convert starts precisely at the given coordinate, so a little bit of experimenting is needed to see how large an offset is needed. Here we use (124,80) instead of (120,80) and got
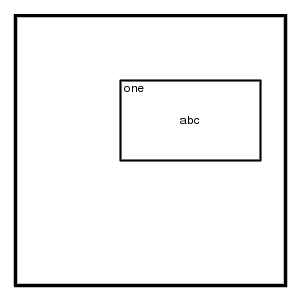
Good.
NorthEast
Next, add some text in the NorthEast corner.convert cv1.png -gravity NorthEast \ -draw "text 260,80 'two'" test3.png

What happened? With -gravity NorthEast the coordinate system is reflected in a vertical axis, and no translate will repair that. Let us compute. We want (260,80), but the old point (300,0) is our new origin, and relative to that we want (-40,80), but because of the reflection that becomes (40,80). That is precisely correct, but the text again touches the border, and the 40 has to be increased a little.
convert cv2.png -gravity NorthEast \
 -draw "text 42,80 'two'" cv3.png
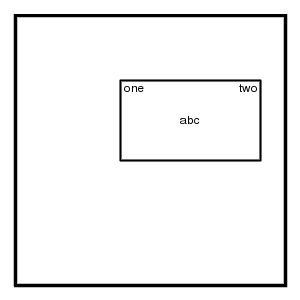
Good!
SouthWest
Next, add some text in the SouthWest corner. We already expect that the coordinate system will be reflected in a horizontal axis, so that the corner that we want, (120,160) now is called (120,140) (since 140 = 300-160). Add the same offset as before.convert cv3.png -gravity SouthWest \ -draw "text 124,140 'three'" cv4.png
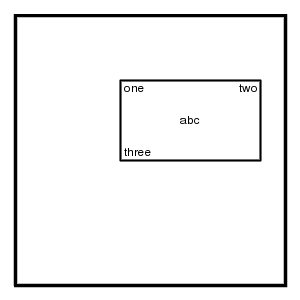
Yes.
SouthEast
Next, add some text in the SouthEast corner. The coordinate system will be reflected in both axes, so that the (260,160) that we want now becomes (300-260,300-160) = (40,140). Add the same offset as before.convert cv4.png -gravity SouthEast \ -draw "text 42,140 'four'" cv5.png
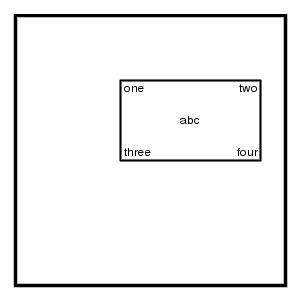
North
For completeness, let us also investigate North, South, East, West. What shifts or reflections will occur?For North we want the point (190,80), but the coordinate system was shifted to make the top center of the image the origin, so we have to shift the origin back (or compute coordinates relative to the new origin).
convert cv5.png -gravity North \
 -draw "translate -150,0 text 190,80 '1'" cv6.png
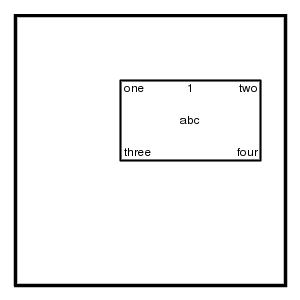
West
Unsurprisingly, here we find a shift down. Undo it. We need the point (120,120) and add the usual left offset.convert cv6.png -gravity West \ -draw "translate 0,-150 text 124,120 '2'" cv7.png
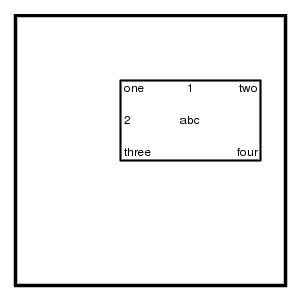
South
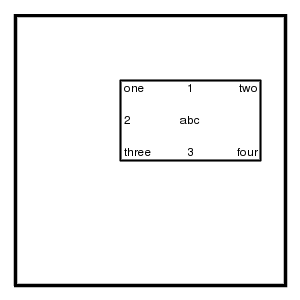
The origin is shifted to the center of the bottom side, and the coordinate system is reflected vertically. We need the point (190,160), and it becomes (190-150,300-160) = (40,140).convert cv7.png -gravity South \ -draw "text 40,140 '3'" cv8.png
East
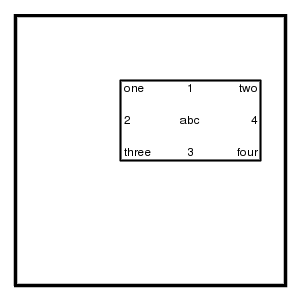
The origin is shifted to the center of the right hand side, and the coordinate system is reflected horizontally. We need the point (260,120), and it becomes (300-260,120-150) = (40,-30).convert cv8.png -gravity East \ -draw "text 42,-30 '4'" cv9.png
Komentar
Posting Komentar